Teaching Tuesday: Texture Time!
Textured items can be found all over our homes and in nature. They can be used to create beautiful and unusual backgrounds and embellies for our scrapbooking and cardmaking creations. Let’s “scratch the surface” on the topic of TEXTURE!!
Packing cardboard from a set of dishes? How can THAT create texture?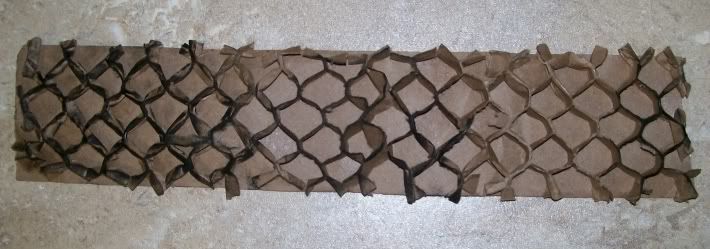
Here’s the result when it’s inked and applied to a LO!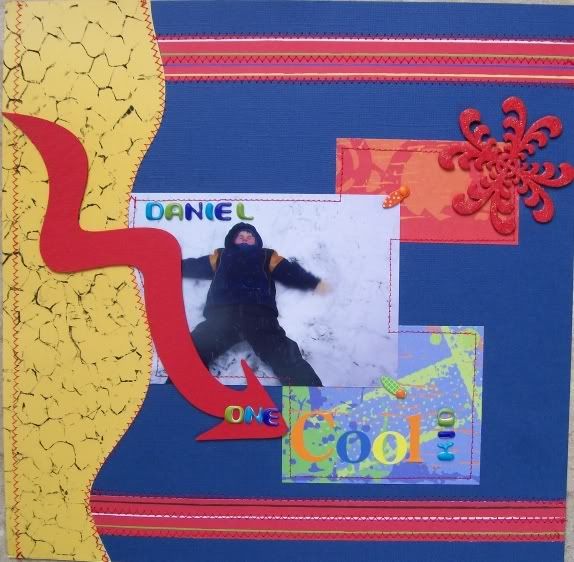
(Urban Daze Kit from Scrapbooker's Club House: March 2008. )
This green corrugated cardboard was also originally a protective packing material: 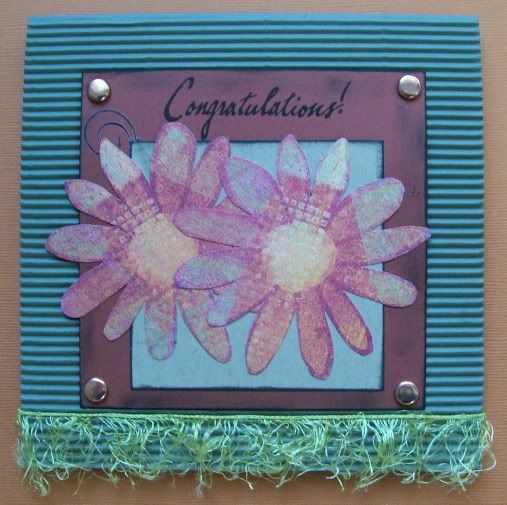 The “eyelash yarn” adds texture as well. This card was created based upon a sketch by Noella Arsenault at "Creatively Yours" http://creativelyyours.wordpress.com/
Here’s the result of using cheesecloth and paint on Bazzill CS to create a page background: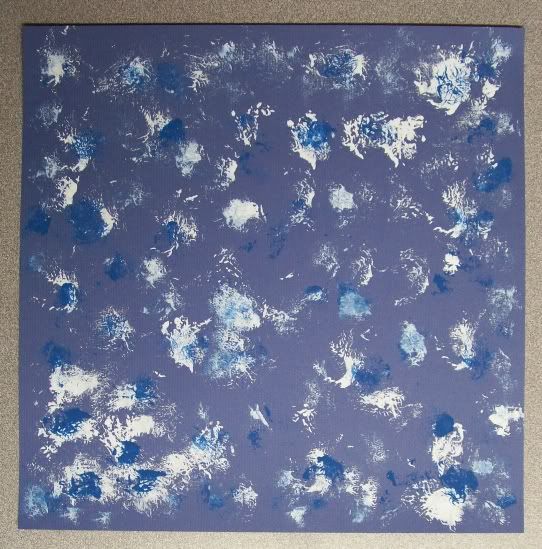
A peach pit, carefully washed and dried, was used to apply paint to this LO, creating a border. I “rolled” it along the cardstock with my fingers after covering it with LOTS of paint!!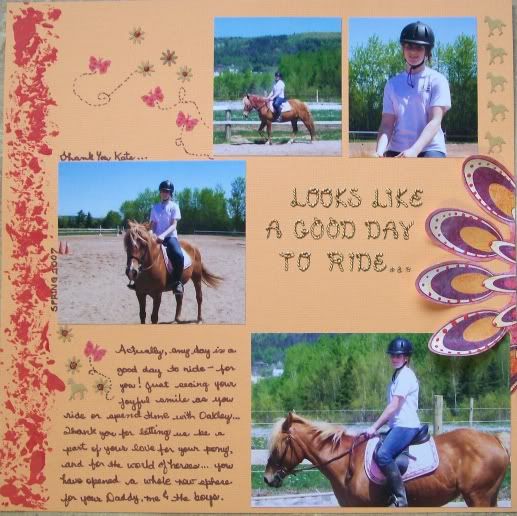
Fabric & embellies cut from clothing can be used to create gorgeous texture and visual interest! This is one ofmy favourite scrappy tricks! Look at this altered notebook! (Uses parts of Jan 2008 Chocolate Chalet Kit from SBCH.) 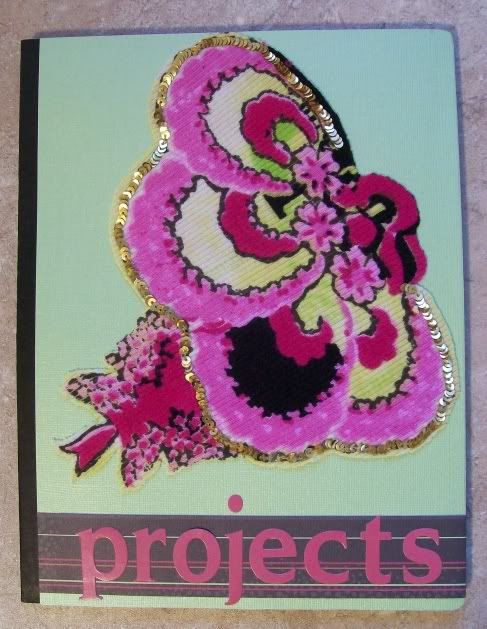
And, speaking of using clothing as embellies, here’s a photo of my daughter, Kate, embellished with a cut-out design from a t-shirt, with a heart shaped filigree button added! 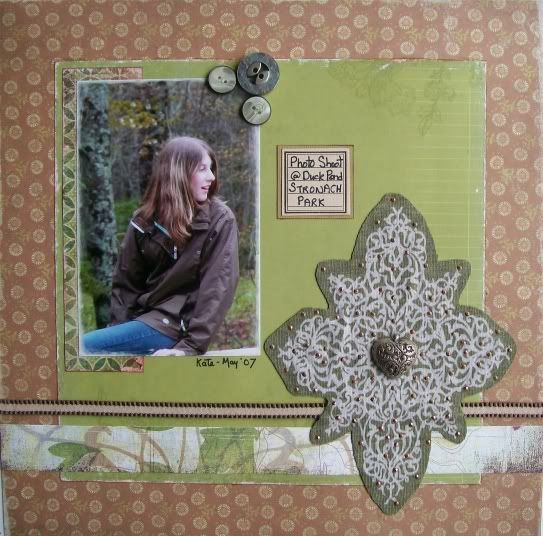
Here is what happens when you crumple up a wad of waxed paper and dip it in red acrylic paint! This makes a really pretty card background!! 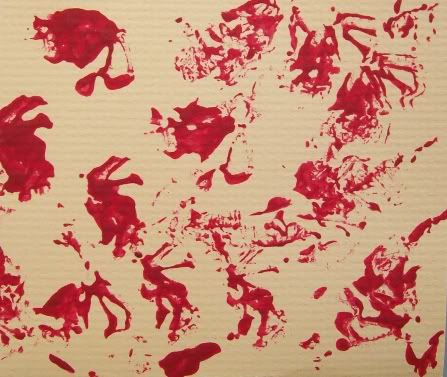
Buttons make great embellies. Try them in lines or on curves. Here’s a book dedication I made using an old cork dipped in red paint, and some red and black buttons set out all in a row on crisp white cardstock!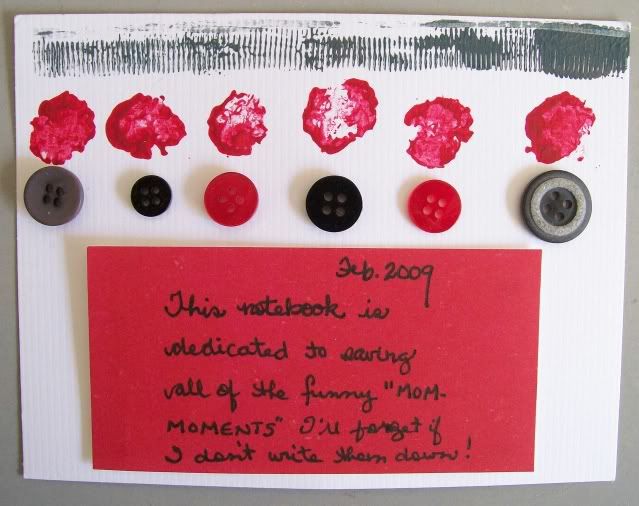
Button Clusters make great embellies and add a TONNE of texture! A button cluster applied to a sturdy file folder (which sits out on my desk) adds such beautiful texture that I just want to reach out and tough the surface of the folder every time I go by! LOL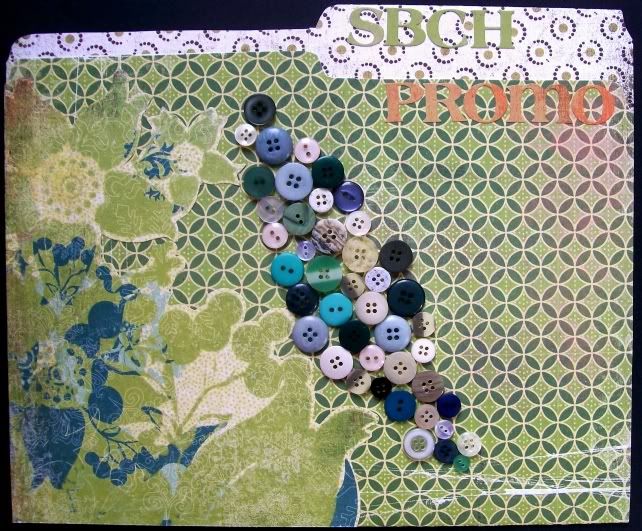
Sanding adds beautiful texture to cards and layouts, too! I generally use 150 grit sandpaper on my cardstock as seen on this sanded card, made for my Dad.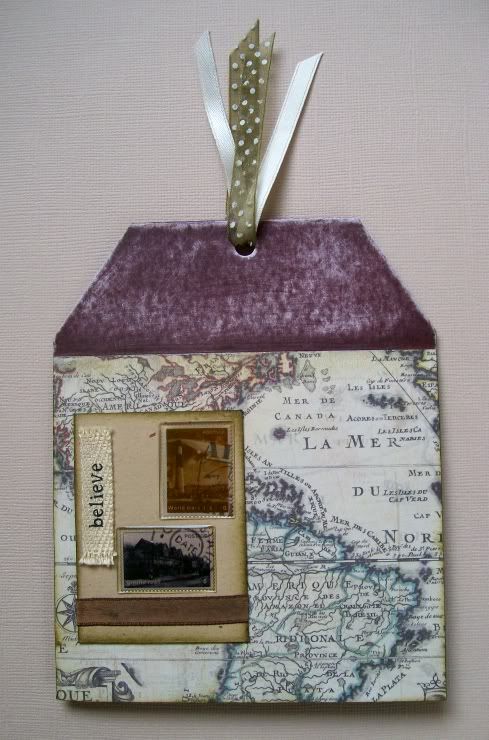
[The card above was based upon a sketch created by Nicole Drewniak and posted at Scrapbooker's Club House for World Cardmaking Day, 2008.]
Here is what results when the edge of a plastic lid from a jar is inked and applied to cardstock: 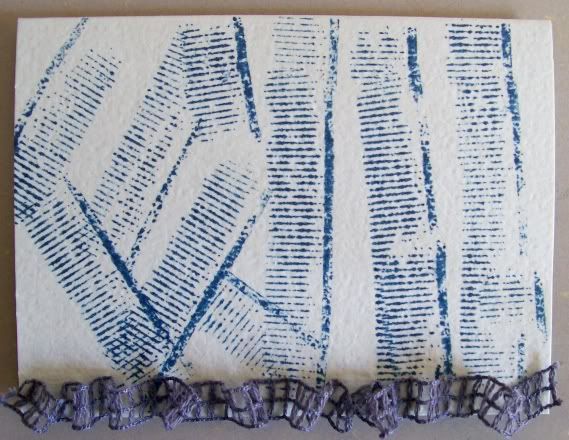
Additionally, some denim blue trim (All My Memories) was scrunched onto the tag as an embellie. This looks like it was tough to do but wasn’t, and added some additional easy texture to this masculine mini-card. I used MM Ribbon Glue to affix the trim.
In the LO of Noah with his floppy bunny (below), the brown textured effect was created with crumpled tissue dipped in paint, then a paper towel tube dipped in the paint. (The January 2009 “Prudence” Kit from SBCH was used for this LO.)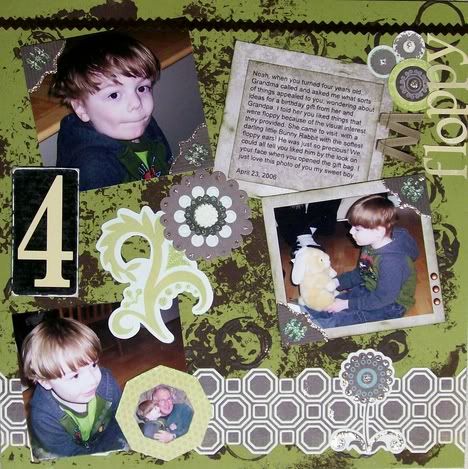
Here are some more ideas you can use to add a textured look to your projects. Why not try some or all of these with ink or acrylic paint?
Use an actual mini-paint roller, a plastic mesh onion bag, a “painting” toothbrush, a “smooshed” paintbrush, tip of a pencil eraser, the circular lids or tops of jars, one’s fingertips, leaves, fork tines, pinecones, small pieces of pine-bough, and/or Popsicle sticks to add textural interest. Why not try using a straw to gently "blow” paint across the cardstock or patterned paper?
These methods will ALL result in fabulously different "textured looks." Have fun experimenting!
Why not share YOUR ideas and experiences with texture in scrapbooking? We’d love to see examples! Be sure to send along your links so that we can visit and check out YOUR creations!
Happy Tuesday! Have a wonderful day, everyone!




10 comments:
Oh my! A bunch of ideas! I remember blowing paint across paper when I was a kid, but haven't tried it on a layout -- yet :-) Thanks for the great info, Ali!
Thanks for all of the inspiration Ali!!!
Great ideas... I'll have to give them a try! Thanks... love what you've done here.
What a great post. I have used the round end of an empty toilet paper roll before. Dipped it in paint and used it to make circles behind a picture on a layout.
Wow, that's some amazing stuff there, my friend!!! You are awesome!!! Loving it!
Wonderful post, Ali!!! Great ideas and techniques to add texture!!
Thanks for all the great ideas. I hope to try some sometimes. I would have never thought of most of these.
I'm always on the lookout for more texture. In this layout, I used some of that nonslip fabric that you use in drawers....
http://cakvd2.blogspot.com/2009/01/red-gym.html
Awesome tips!! Thanks for sharing :)
oh what great ideals. I really need to try ink more often. I shy away from it as I always make a huge mess.
Post a Comment